Scan Agenda
Photograph a printed agenda with your phone camera and let AI turn it into the event's agenda parts.
Feature overview: AI event import
Overview
Scan Agenda points your phone camera at a printed agenda, flyer, program or setlist and uses AI to turn each line into an event part. You review the parsed list on screen, fix anything the AI misread, and save it to one of your events. It opens from the Actions menu of a schedule's page in the admin panel, on a phone or tablet, and needs an Enterprise plan. Parsing runs on whichever AI provider the installation is configured for, Google Gemini by default or OpenAI.
Free - Available on the Free plan Event parts are a free feature. Every plan can add, name, time, describe, reorder and delete agenda parts by hand on the Agenda tab of the event form.
Enterprise - Requires the Enterprise plan Only the AI that reads an agenda for you requires an Enterprise plan. A selfhosted install counts as Enterprise, so nothing here is held back there.
| Capability | Where | Plan |
|---|---|---|
| Add, edit, time and reorder parts by hand | Event form → Agenda | Free - Available on the Free plan |
| Show times | Event form → Agenda. The choice is remembered for the schedule's next event | Free - Available on the Free plan |
| Read This Text / Or Choose a Photo | Event form → Agenda → Import row | Enterprise - Requires the Enterprise plan |
| Scan Agenda (live camera) | Schedule page → Actions menu, in a window narrower than 1024 pixels (a phone or a tablet) | Enterprise - Requires the Enterprise plan |
| Keep the agenda photo on the event page | Scan screen (Save agenda image), or Event form → Agenda → Import row (Keep the photo) | Enterprise - Requires the Enterprise plan |
Typical uses:
- Conference organizers - Turn a printed program of sessions into a timed agenda
- Venues - Capture a lineup from a poster or door flyer
- Talent - Photograph a handwritten setlist and publish it as a running order
What you need
- An Enterprise plan on the schedule you are scanning for, or a selfhosted install
- A Google Gemini or OpenAI key configured on the installation. Without one the menu entry is hidden and the event form's Agenda tab has no Import row, which matters mainly for selfhosted deployments
- A device with a camera, and camera permission granted to the browser. The scan screen has no file picker
- At least one event on the schedule that does not have agenda parts yet
On the hosted service each schedule can run 10 agenda parses per day, and the allowance is shared with the Import row on the event form's Agenda tab (Read This Text and Or Choose a Photo), since all three call the same parser. It is counted separately from the AI import allowance for whole events, so scanning an agenda never uses up an import, or the other way round. Once the day's allowance is used, a parse is refused with "You have reached your daily limit of 10 AI requests. Please try again tomorrow." Selfhosted installs have no limit.
Getting Started
Scan Agenda opens from the schedule's own page in the admin panel:
- Open the schedule in the admin panel
- Open the Actions menu at the end of the schedule's title row
- Choose Scan Agenda
Because the flow drives the device camera, Scan Agenda is listed in the Actions menu only in a window narrower than 1024 pixels: a phone, a tablet, or a narrowed browser window. To work from a photo already on a computer, open the event, go to its Agenda tab, open the Import row and click Or Choose a Photo instead.
The entry is there for a schedule's owner and its admins on an Enterprise plan, not for a viewer. On the hosted service, other plans see the same entry, and it opens an upgrade prompt. The scan screen is titled Scan Agenda, and the link above the title, named after your schedule, takes you back to it.
Choosing the event
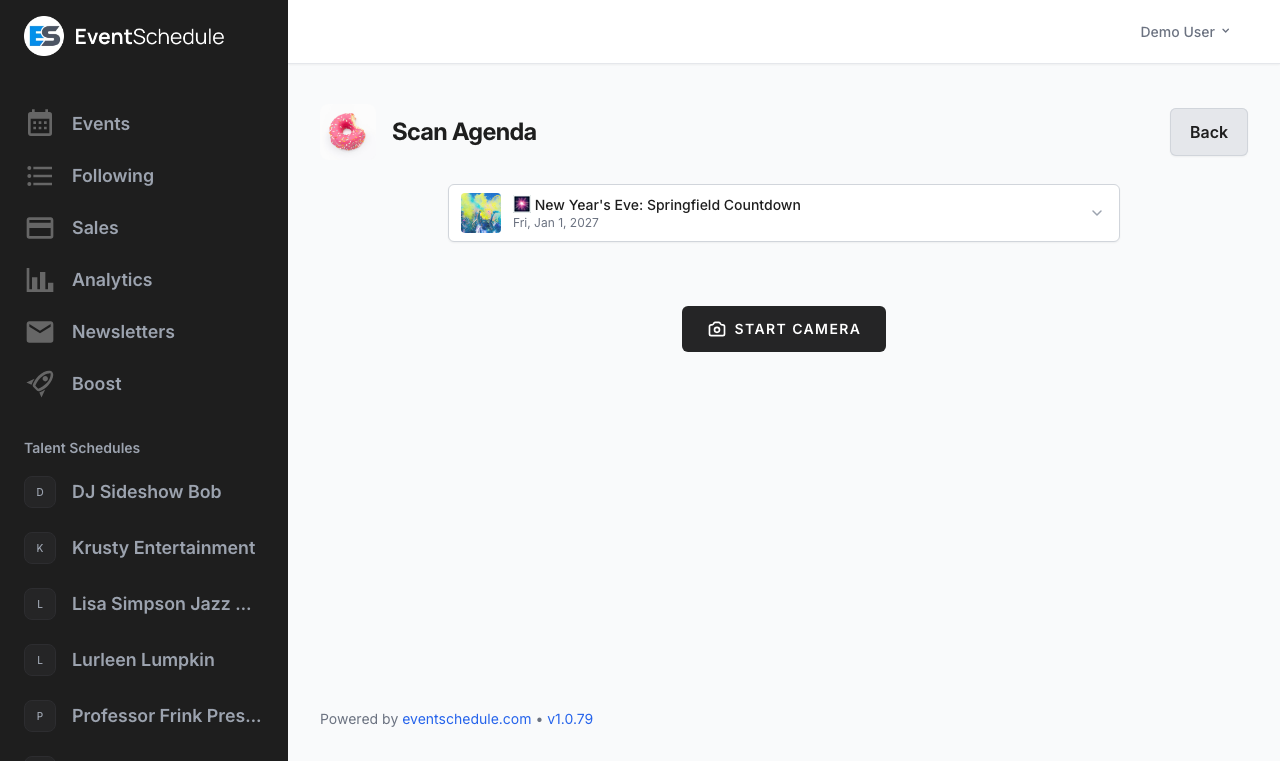
The parts you scan always belong to one event, chosen in the selector at the top of the scan screen. Event Schedule preselects a likely candidate:
- The most recent event that started within the past month and has no agenda parts yet
- If there is none, the next upcoming event with no agenda parts
- If neither exists, the first event in the dropdown
The dropdown lists up to 50 of the schedule's events that have no parts yet, past and upcoming together, ordered by date with the latest first and each shown with its image and date. Tap one to switch. If the schedule has no such event you see "No events found. Create an event first, then scan its agenda."
An event that already has parts is not offered in the selector. To rebuild its agenda from a photo, remove the existing parts in the event form first, or use Or Choose a Photo in the Import row of its Agenda tab, which adds the parsed parts to the ones already listed.
How It Works
- Confirm the event - Check the event shown in the selector at the top, or pick another one
- Start Camera - Tap the button and allow camera access. If the device offers more than one camera you choose it in the Select Camera dialog; the choice is remembered on that device, and Change Camera switches later. Once you have granted access the camera starts on its own the next time you open the screen on that device
- Set the options - Below the preview, Edit Prompt adds instructions for the AI and Save agenda image keeps the photo and shows it on the public event page above the agenda. The photo is stored on the event as soon as it is read, before you tap Save, and a later scan with the option on replaces it. To take it off again, open the event's Agenda tab and remove it in the Import row
- Capture - Tap the round shutter button under the preview. The frame is sent for parsing, so line the agenda up before you tap
- AI reads the photo - Each agenda line comes back as one part, in the original order
- Review and edit - Every part is a card you can retype. The X button at the end of a card removes it, and + Add appends an empty one for anything the AI missed
- Reorder - Drag a card, using the grip at its start, and drop it where it belongs
- Save or retake - Tap Save in the bar at the bottom to write the list to the event and jump to the agenda on the public event page. Retake discards the parsed list and returns to the camera screen, where you tap Start Camera again
What the AI extracts
| Field | What comes back |
|---|---|
| Name | The title of the session, act or song. Always filled in, required before a part can be saved, and capped at 255 characters |
| Description | Supporting detail such as a speaker or performer name, when the agenda shows one. Up to 1,000 characters |
| Start time | 24-hour HH:MM, left empty on an agenda with no times, such as a setlist |
| End time | 24-hour HH:MM where the agenda gives one |
On the review screen the two time boxes are plain text fields rather than pickers, so you can retype a time straight over what the AI read. The event form's Agenda tab gives the same parts a time picker if you would rather correct them there.
The time boxes follow the schedule's Show times choice, the switch beside the title of the event form's Agenda tab, which is remembered from one event to the next. While it is off the time boxes are not shown here and the parts are saved without times, even if the AI read some.
Save writes the list on screen as the event's complete agenda: any parts the event already had are replaced, and parts do not accumulate across scans. Scan the whole agenda in one photo where you can, and add anything left over by hand in the event form.
On the public event page the saved parts render as a vertical timeline when at least one part has a start time, and as a numbered running order when none of them do.
When the AI cannot read any items you get a "No events found" notice and go back to the camera, so you can retake the photo or add a prompt. With Save agenda image enabled you land on the review screen instead, with the photo shown above an empty list you can fill in by hand. Tapping Save on a genuinely empty list changes nothing on the event; it just takes you to the event page.
Custom AI Prompt
The prompt is optional: the built-in instructions handle a normal agenda, program or setlist. Add your own when the layout is unusual or the AI keeps misreading the same thing.
- With the camera running, tap Edit Prompt
- Type your instructions in the AI Prompt box, up to 500 characters
- Optionally tick Save as default
- Tap Done and capture the photo
Instructions that work well:
- "Each part name should include the artist name in parentheses"
- "Times are in 24-hour format"
- "Ignore the header and the lunch breaks"
- "The left column is the time and the right column is the session title"
Where the prompt is stored
- Save as default stores the prompt on the schedule, so it is prefilled for later scans and in the Import row of the event form's Agenda tab. It stores the Save agenda image setting on the schedule at the same time
- Every scan also stores the prompt on the event you scanned, whether or not you saved it as the default
- The scan screen opens with the selected event's own prompt when it has one, and falls back to the schedule default. "No prompt set" means neither exists yet
- The same AI Prompt box, with the same 500-character limit, opens from + Instructions for the AI in the Import row of the event form's Agenda tab. There the switch that stores it on the schedule is called Use these instructions for every event
The prompt only shapes what the AI reads. It has no effect on parts you type in by hand.
Tips
For the best results when scanning:
- Use the rear camera - It is usually the sharper one. If the preview looks soft, switch with Change Camera
- Good lighting - Light the page evenly and keep your own shadow off it
- Flat surface - Flatten creases and curl so lines do not bend out of shape
- Full frame - Fit the whole agenda in one photo. Because saving replaces the agenda, one photo per event is much easier than two
- Readable text - Fill the frame with the agenda so the smallest line is still legible, and avoid blurry shots
- Complex layouts - For multi-column programs or handwriting, describe the layout in the prompt before you shoot
The scan is a starting point. A missed line or a mistyped time costs seconds to fix on the review screen, and everything stays editable afterwards on the event form's Agenda tab.
If the browser refuses the camera, the page names the cause: permission denied, no camera found, the camera being used by another app, or an unknown error. For a denied permission it also lists the steps to re-enable it, with separate instructions for phones and computers. Try Again retries once you have fixed it.
See Also
- Creating Events: Agenda - Build and edit event parts by hand on any plan
- AI Import - Create whole events from a link, pasted text or a flyer image
- Selfhost: AI Features - Configure the Gemini or OpenAI key that the parser needs